Compared to pitched roofs, flat roofs offer numerous advantages in the commercial roof installation process. They provide opportunities to install solar panels, create rooftop gardens or establish recreational areas. Along with these attractive benefits, their simple design can help contractors achieve material and labor cost savings.
Let’s dive into the specifics of flat roofing installation so you can end up with a roof that serves its purpose.
Materials for Flat Roofs
Once you start a project, you’ll have to choose between flat roof materials, but that’s why we are here. Therefore, in the first part of this blog, we will talk about the materials intended for flat roofing and crucial flat roof details. In the other half, we will discover how to install a flat roof.
Thermoplastic Polyolefin (TPO)
TPO is a single-ply roofing membrane popular due to the fact that this material is durable, energy-efficient, and easy to install. It consists of a single layer of synthetics and reinforcing scrim that offers excellent resistance to UV radiation, weathering, and chemical exposure.
After being manufactured in 10, 12, or 20 feet widths, TPO membranes are rolled up and transported for further use.
Ethylene Propylene Diene Monomer (EPDM)
EPDM is a flexible and long-lasting roofing membrane that can withstand a wide range of temperatures, as well as the elements (including UV rays). EPDM roofing can be glued or mechanically fastened to the roof substrate, and it usually comes in massive sheets or rolls. Despite the perception that the flat roof replacement cost for this material might be high, it is actually affordable.
Built-Up Roof (BUR)
Also known as a “tar and gravel” roof, a BUR system is constructed by alternating bitumen layers and reinforcing materials such as fiberglass or organic felts. These layers are applied using hot asphalt or a cold adhesive, forming a continuous and durable membrane.
BUR roofs are known for their longevity, ability to withstand heavy foot traffic, and excellent waterproofing capabilities, making them a popular choice for low-slope and flat roofs.
Step-by-Step Instructions for Flat Roof Installation
As promised, we will give you answers on how to do flat roof replacement on your building, so let’s begin.
1. Before You Start
Before starting the installation process, thorough planning and preparation is necessary. Here’s what you need to do:
- Assess the building,
- Obtain permits,
- Select flat roof materials,
- Prepare tools and equipment.
Once you’ve done that, you’re one step closer to a beautiful and sturdy flat roof.
2. Remove the Existing Roof if Necessary
If there is already a roof on the building, it must be taken off before the flat roof can be installed. To do that, follow these steps:
- Keep everyone safe: Wear appropriate safety gear, gloves, goggles, and non-slip shoes.
- Remove roofing material: Carefully remove the existing roofing material, but make sure you don’t damage flashing, trim, or valley.
- Inspect the roof: Inspect the roof deck for any signs of damage, such as rot or water leakage. If you find any issues on a roof, make sure you repair it or replace it.
3. Insulation Installing
Insulation helps regulate temperature, minimize heat loss, and enhance energy efficiency in roofing structures. Also, it reduces condensation and moisture, improving the comfort and longevity of your home.
- Measure and cut: Measure the roof dimensions and cut insulation boards accordingly.
- Adhere insulation: Apply adhesive to the roof substrate and press the insulation boards firmly into place. Use mechanical fasteners, such as screws or nails, for additional security.
4. Install the Desired Roofing Material
Once you have all the material in place, it is crucial to accurately measure the dimensions that correspond to your roof’s size, length, and width. The roof’s surface should be clean and dry, and after that, you can apply the new roofing material. To apply your new roofing material, follow these steps:
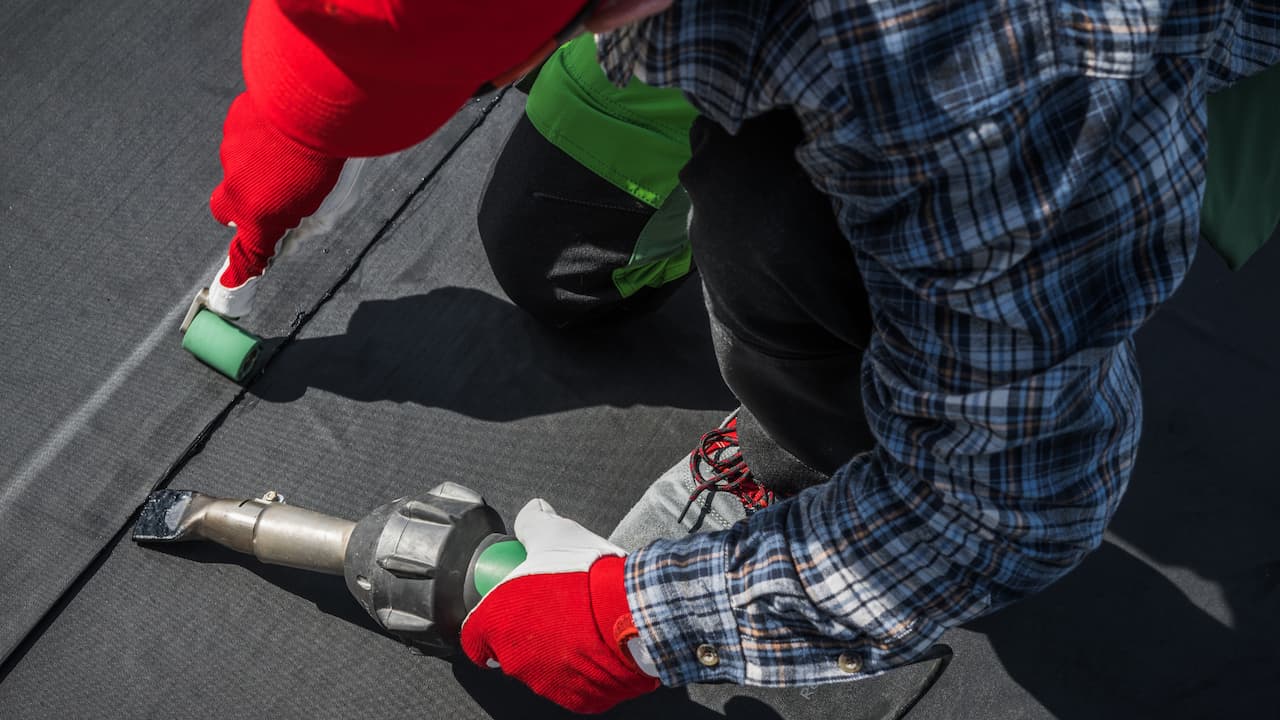
- Lay the membrane: Roll out the roofing membrane over the insulation boards, ensuring it covers the entire roof area. You can leave a few inches of overhang on all sides.
- Secure the membrane: Fasten the membrane using roofing nails or adhesive, according to the manufacturer’s instructions.
- Seal joints and edges: Use roofing sealant or specialized tape to seal the joints, seams, and edges of the membrane.
5. Complete a Flat Roof Installation
After you’ve done all of the above, it’s time for the finishing touches. As a final step, you should install the following:
- Flashing: Install metal or PVC flashing around vents, chimneys, and other roof penetrations to prevent water intrusion.
- Drainage system: Install a suitable drainage system, such as gutters and downspouts, to channel water away from the roof.
After this final step, carefully examine the entire roof surface, and make sure you check for any signs of damage.
For All Your Commercial Roofing Needs, Contact White Roofing System
White Roofing Systems has helped numerous businesses across the United States with their commercial roofing requirements, which speaks volumes. With years of experience in the roofing industry, our commitment to excellence is demonstrated through our use of the Conklin Roofing System, the premier brand in commercial roofing.
Hence, if you need a commercial roof installed on your property, contact White Roofing Systems, a reputable commercial roofing company.

